.jpg)
How to Install Single and Dual-function Shower Heads?
Shower heads are essential for any bathroom, making correct installation important. This guide will help you install both single and dual shower heads with ease – no special skills required! Just follow the steps and tips for optimal results.
What to Consider Before Installation?
Nowadays, there is a wide variety of shower heads and faucets available. Some models are recessed (built-in), while others are surface-mounted. In recessed models, all components except for the showerhead and controls are hidden within the wall. Here are some essential tips for installing a shower head.Prepare the Required Tools
First, prepare tools such as a drill, rawlplugs, a flathead screwdriver, plumber's tape, an adjustable wrench, and a dry cloth.Turn Off the Water Supply
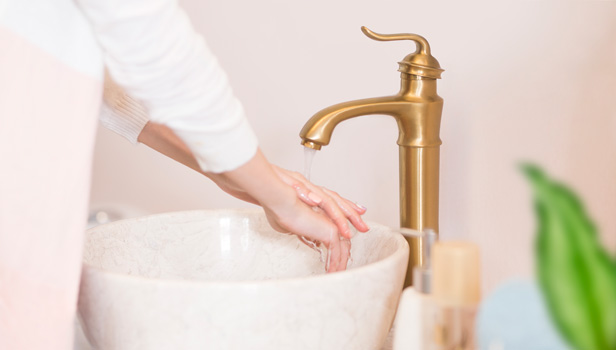
Before installing the shower head, ensure that the main water supply is turned off. After shutting off the water, open the shower faucet to let any remaining water in the pipes drain out. For added protection, lay down a large, thick cardboard sheet on the bathroom floor. This will help prevent any damage in case tools or parts fall during the installation process..jpg)
How to Install Dual-function Shower Pole
To install, first, remove the components and washers from the packaging, then follow these steps:- Attach the Washer: Place the washer inside the large shower head nut. Connect the large shower head to the shower pole's connector using hand pressure. After this, tighten the screws with an Allen wrench or screwdriver.
- Install the Holder: Insert the small shower holder from the bottom edge of the pole and pull it upwards to the installation point. For convenience, you can pre-measure and mark your desired height for the shower holder. Remember, you can adjust the height after installation, so don’t stress too much at this stage!
- Install the Small Shower Holder: Insert the small shower holder into the bottom edge of the shower arm and pull it up to the installation height. You can mark your desired height beforehand, but adjustments can be made later.
- Adjustable Base: If your shower has a button near the holder, use it to easily adjust the base. Once released, it will lock into place.
- Attach Accessories: If there are accessories like a soap holder, mount them on the shower pole.
- Connect the Diverter Valve: Firmly attach the diverter valve to the end of the shower arm, ensuring the handle is oriented correctly.
- Mount the Showerhead: Connect the showerhead to the side wall, paying attention to the hose length for proper spacing.
- Mark and Drill: Mark the wall for the diverter and large showerhead locations, then drill holes for the brass fittings.
- Secure Brass Fittings: Attach the brass fittings to the wall using screws.
- Install the Shower Pole: Place the shower pole onto the connected brass fittings.
- Connect Hoses: Attach the short hose to the valve and diverter using a washer, and connect the long hose to the back of the valve and the small showerhead.
- Test for Leaks: Turn on the water to check for leaks. If any leaks are found, tighten them with a wrench.
.jpg)
How to Install Single-function Shower Pole
Single-function showers are installed in the same way as dual-function showers, with the only difference being the absence of the diverter valve and a small shower head. Here are the steps to follow:- Assemble the Shower Pole: Remove the two pieces of the shower pole from the packaging and connect them. Place the protective connector on the joint and secure it using the side lever.
- Attach Accessories: Insert accessories like the soap holder into the lower part of the shower pole and mount them in appropriate positions.
- Seal Connections: Unscrew the shower connections and wrap them with plumber's tape for insulation. Attach the connections to the water inlet and tighten them with a wrench.
- Install the Faucet: Position the shower faucet where desired and secure it tightly.
- Mark the Wall: Place the shower pole on top of the faucet and mark the installation point on the wall.
- Drill and Secure: Use a drill to make a hole at the marked spot and insert a rawlplug. Then, mount the shower pole on the wall with screws.
- Connect the Shower head: Attach the showerhead to the top of the shower pole. Turn on the water to check for proper installation.
- Fix Leaks: If there are any leaks, seal them with plumper’s tape or tighten them with a wrench.
- Keep It Clean: If cleanliness is a concern during installation, use masking tape around the marked area. This will help you identify the marking and protect the surrounding area easily.
.jpg)